Mastering the Grungy Brush Effect and Dirty Brush Strokes for Authentic Design
In a digital landscape often saturated with sterile, vector-perfect graphics, there is a growing demand for texture, imperfection, and human touch. This is where the Grungy Brush Effect and Dirty Brush Strokes become invaluable assets for designers. These elements introduce a raw, organic quality that can transform a flat composition into something tactile and emotionally resonant. However, integrating these textures is not as simple as dragging and dropping an image onto your canvas. Many creators stumble over common pitfalls that dilute the impact of their work or create technical headaches down the line.
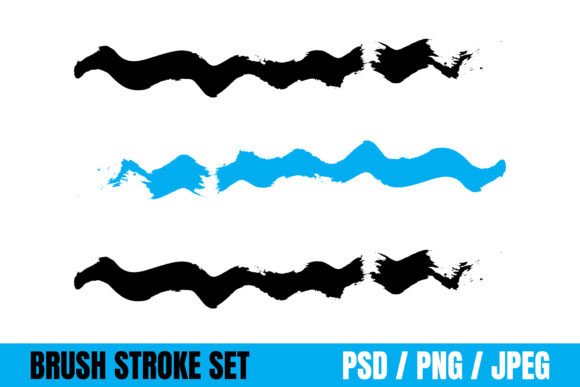
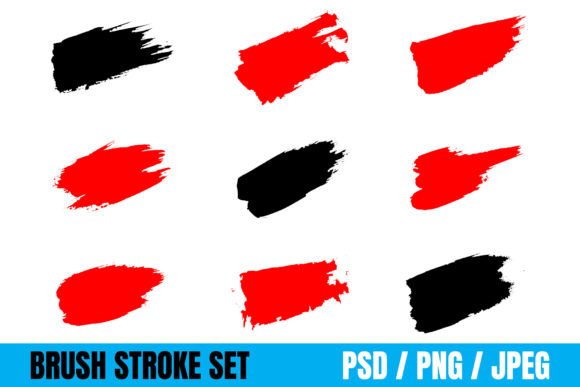
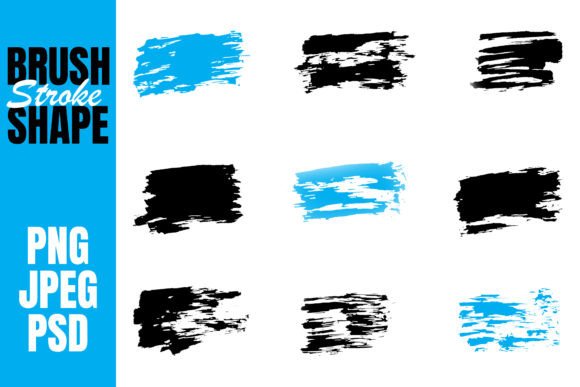
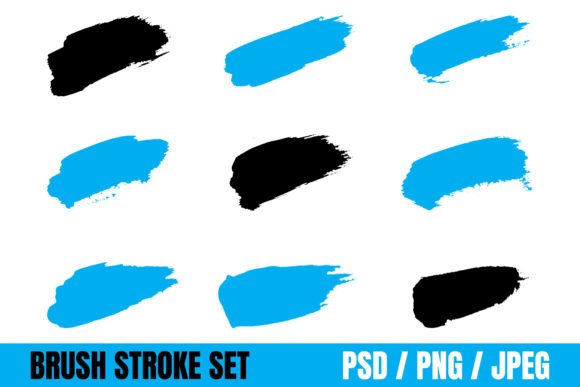
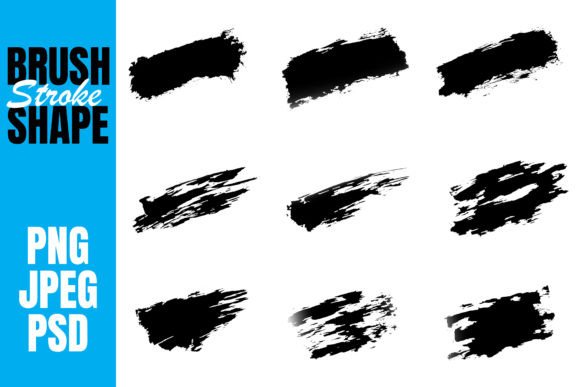
This set of paintbrush strokes is perfectly created for your creative projects, offering a bridge between traditional media aesthetics and modern digital workflows. Whether you are designing a rugged logo for a craft brewery, adding edge to a social media banner, or creating a vintage-inspired book cover, understanding how to properly utilize these assets is crucial. The following guide addresses frequent misunderstandings and provides practical advice to ensure your designs remain professional while embracing chaos.
The Misconception of Random Placement
One of the most frequent mistakes beginners make when using dirty brush strokes is treating them as mere decoration rather than integral design components. It is tempting to scatter grunge elements randomly across a layout to "add texture," but this often results in visual noise that distracts from the core message. When brush strokes lack intentionality, they can make a design look cluttered and amateurish rather than artistic.
To avoid this, consider the flow and direction of your composition. A brush stroke should guide the viewer’s eye or frame key information, such as a headline or a call-to-action button. For instance, if you are designing a t-shirt graphic, align the sweep of the brush with the natural contour of the garment or the movement of the central illustration. By anchoring the grunge effect to specific design elements, you create cohesion. Ask yourself: does this stroke add balance, or does it just add dirt? If it doesn’t serve a structural or thematic purpose, remove it.
Ignoring File Formats and Scalability
A critical technical oversight involves ignoring the file formats provided in your asset pack. This collection includes files in PSD, JPEG, and PNG formats, each serving a distinct purpose. A common error is relying solely on JPEGs for web banners or logos. JPEGs do not support transparency, meaning you will be stuck with a white or colored box around your brush stroke, requiring extra time to mask out backgrounds in your design software. This not only reduces efficiency but can also lead to jagged edges if the compression is high.
For maximum flexibility, always prioritize PNG files with transparent backgrounds for quick drag-and-drop usage in tools like Canva or PowerPoint. However, for professional-grade work, especially in print packaging or large-format banners, the PSD (Photoshop) files are superior. They often contain layer masks or smart objects that allow you to adjust the density, color, and blending modes non-destructively. Using the right format ensures that your Grungy Brush Effect retains its crisp edges and authentic texture, regardless of where it is applied.
Overlooking Color and Blending Modes
Many users apply brush strokes in their default black or white state, assuming they will fit any palette. This rigid approach limits creativity and often creates harsh contrasts that clash with the rest of the design. A dirty brush stroke in pure black can look like a smudge rather than an artistic element if placed over a dark background without proper adjustment.
The solution lies in mastering blending modes. Instead of leaving the layer on "Normal," experiment with modes like Multiply, Overlay, Screen, or Soft Light. These modes allow the texture of the brush to interact with the colors beneath it, creating a more integrated and natural look. For example, using a "Multiply" mode on a light paper texture background will make the brush stroke appear as if it was painted directly onto the paper. Additionally, don’t be afraid to recolor the strokes. A muted olive green or a faded terracotta can evoke a specific vintage mood that stark black cannot achieve. Adjusting opacity is equally important; lowering it slightly can soften the impact, making the grunge feel weathered rather than slapped on.
Neglecting Context and Audience
While the versatility of these brush strokes allows for use in card designs, websites, and logos, not every project benefits from a grungy aesthetic. A common strategic error is applying heavy texture to brands or messages that require clarity, trust, and precision, such as financial services or medical informational graphics. In these contexts, excessive grunge can communicate carelessness rather than creativity.
Before downloading or purchasing, evaluate the tone of your project. Are you aiming for rugged, vintage, handmade, or rebellious? If so, these assets are ideal. If your goal is sleek, modern, or corporate, use the strokes sparingly as subtle accents rather than dominant features. For educators and bloggers, a light touch of texture can make educational materials feel more approachable and less sterile, but it should never compromise readability. Always check legibility when placing text over or near dirty brush strokes. Ensure there is sufficient contrast and spacing so that the message remains clear.
Best Practices for Implementation
To get the most out of this set of paintbrush strokes, adopt a workflow that prioritizes experimentation and refinement. Start by selecting a few key strokes that complement the shape and energy of your main subject. Avoid using every single brush in the pack in one design; restraint is key to maintaining a polished look.
- Test across mediums: What looks good on a screen may look different in print. If you are designing packaging or book covers, print a test sheet to check how the fine details of the grunge translate to physical material.
- Layer wisely: Combine multiple strokes at different opacities to build depth. A single stroke can look flat, but two or three layered together can create a complex, realistic paint buildup.
- Maintain consistency: If you use a rough, dry brush style for your header, carry that same texture language through to your dividers or background elements. Inconsistent texture styles can make a design feel disjointed.
Ultimately, the value of these assets lies in their ability to save time while adding professional-grade texture. By avoiding common mistakes like poor placement, incorrect file usage, and ignoring blending options, you can elevate your creative projects. Whether you are a freelancer crafting a unique logo or a small business owner designing social media banners, these tools offer a shortcut to authenticity. Use them with intention, respect the technical requirements, and let the imperfections enhance your message rather than obscure it.